First, choose the printer you’d like to install and make note of its name & model – you’ll need them later:
| Name | IP Address | Floor | Location | Type | Model |
|---|---|---|---|---|---|
| arch.cic.com | 65.254.97.97 | 2 | 4240 Duncan Ave | Color | Sharp MX 6580N |
| landing.cic.com | 65.254.97.71 | 2 | 4240 Duncan Ave | B/W | Sharp MX M654N |
Note, there are also some HP printers in this CIC location. Installation process is slightly different for those. Click here to see the guide.
Installation guide:
Please select your operating system:
Windows instructions:
These directions are designed for Windows 10 users, but the directions should work for other versions of windows as well with very little variation.
Step 1.
Click here to download the drivers.

Step 2.
Unzip the driver file. Open the unzipped folder and run the “setup” program. By defualt Windows can unzip files with just a double-click, however if you have a third party ZIP program the process may be different.
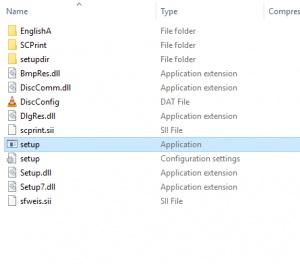
Step 3.
Click: “yes” to allow the driver to install on Windows. If you do not have administrative permissions on your computer you may need to ask your administrator to help you.
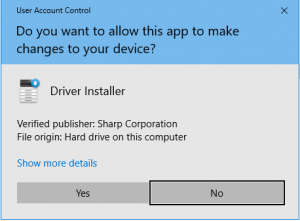
Step 4.
Read the License Agreement, check the “accept” box, and click: “Next.”
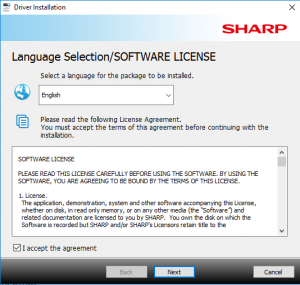
Step 5.
Click the “Add a new Sharp printer” button.
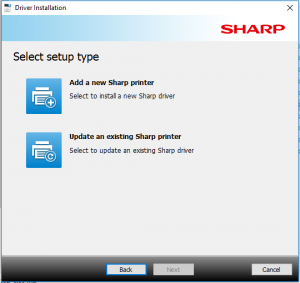
Step 6.
Click the “Basic mode” button.
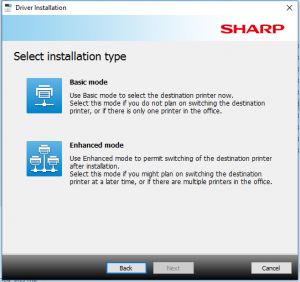
Step 7.
Choose “Specify the MFP IP address” from the drop-down list.
Click: “Next.”
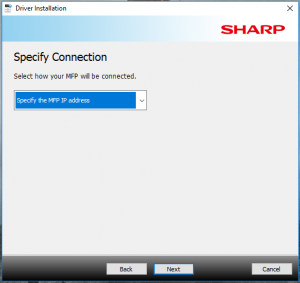
Step 8.
Enter the printer name in the field box.
Change the Port Settings drop-down to “LPR.”
Click: “Next.”
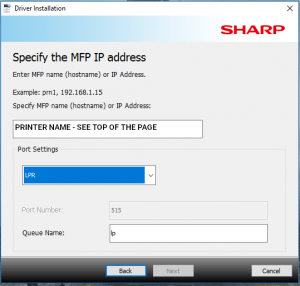
Step 9.
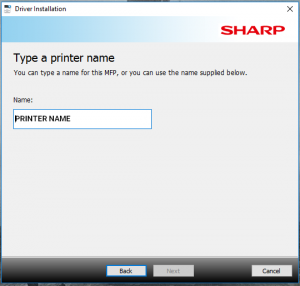
Now you can name the printer.
The name can be whatever you like, however we recommend using a name that will remind you where the printer is.
Safe choice is the printer name you’ve used in the previous step.
Click: “Next.”
Step 10.
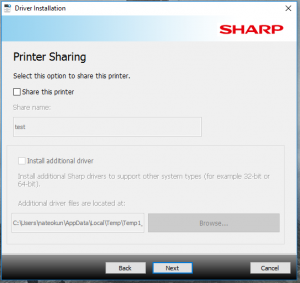
Printer Sharing is not recommended at CIC.
Click: “Next.”
Step 11.
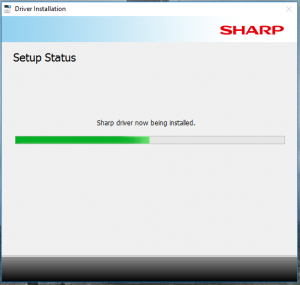
Wait for drivers to be installed.
Step 12.
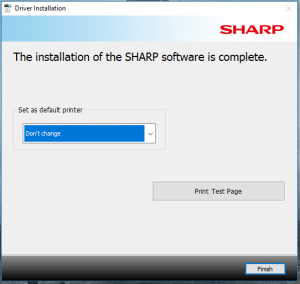
Select a default printer, click: “Finish.”
A reboot may be required.
Click here if you want to learn how to use the Secure Print feature.
As always don’t hesitate to ask for help at your local CIC team office.
MacOS instructions:
These directions are designed for MacOS Catalina users, but the directions should work for other versions of MacOS (OSX) as well with very little variation.
Step 1.
Click here to download the drivers for MacOS.
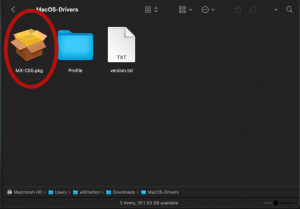
Unzip the download, and open the package with the right model name (see top of the page). Note: our driver package is prepared for MacOS Ventura and newer. If you have an older version of the MacOS, consider upgrading it or download drivers directly from Sharp website.
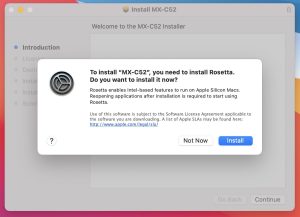
(Only for M1 Macbooks: chip you may be asked to install the Rosetta compatibility package. Click Install.)
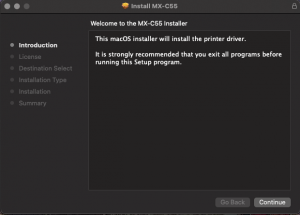
Step 2.
Click “Continue.”
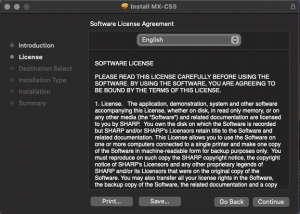
Step 3.
Click “Continue.”
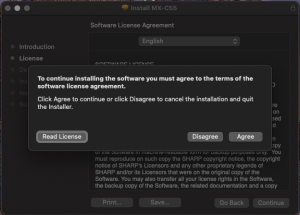
Step 4.
Click “Agree.”
Step 5.
Click “Install.”
You may be asked for your password.
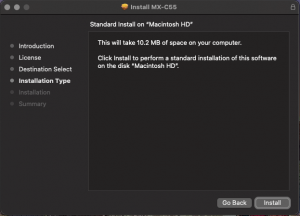
Step 6.
Click “Close.”
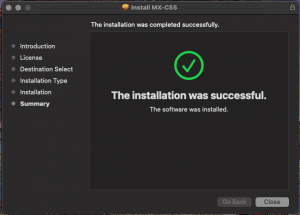
Step 7.
Open your System Preferences.
Click: “Printers and Scanners.”
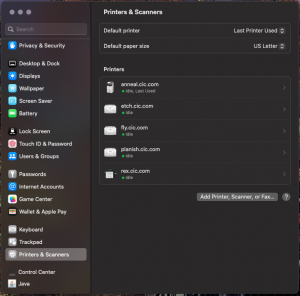
Step 8.
On the Printers and Scanners page click the “Add Printer, Scanner or Fax…” to add a printer.
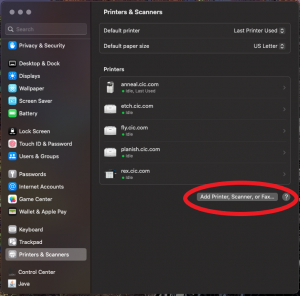
Step 9.
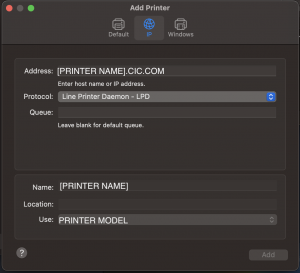
On the top of the Add page click the IP Tab.
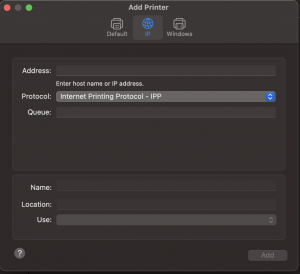
Step 10.
Type the printer name (see top of the page) in the Address field.
Click the Protocol drop down and select Line Printer Daemon – LPD.
The Printer Name should autofill. If not, repeat the printer name.
The Printer Model should also autofill in the Use field.
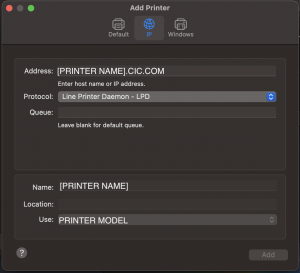
Step 11.
If the Use field has the Printer Model autofilled, skip to Step 13!
If it has not autofilled, click the drop down and select “Select Software…”
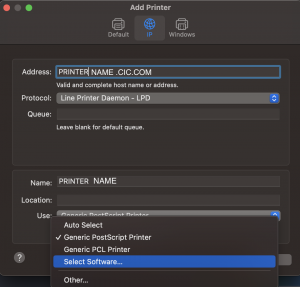
Step 12.
On the Printer Software page type the printer model (see top of the page).
Select “[Model] PPD”
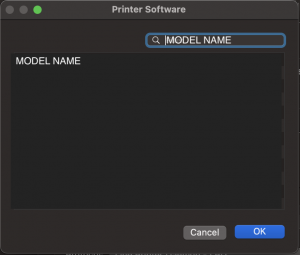
Step 13.
If you like change the name to something memorable.
Click: “Add.”
Step 14.
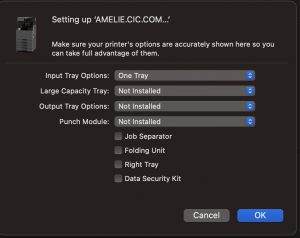
Make no changes.
Click “OK” and Enjoy.
Click here if you want to learn how to use the Secure Print feature.
As always don’t hesitate to ask for help at your local CIC team office.
